How Storyboards, Animatics, and Layout Passes Work Together
Storyboards, animatics, and layout passes are three planning layers that turn an idea into shots the production team can actually build. Storyboards show the visual thinking, animatics test timing and sequence flow, and layout translates that plan into camera, staging, and spatial choices.
TL;DR: Storyboards answer “what happens in the shot?” | Animatics answer “how does it feel over time?” | Layout answers “where are the camera, characters, props, and action in usable screen space?” | The cleanest productions treat these as connected revisions, not separate paperwork.
The three passes solve different creative problems
A storyboard is the earliest visual map of a scene. It does not need polished drawing, but it does need readable action, staging, and emotional intent. A good board tells the editor and director what the audience should understand at each beat. Adobe’s overview of animation storyboarding frames the storyboard as a practical planning tool rather than a gallery of finished art; that distinction matters because clarity beats decorative detail at this stage: animation storyboards work best when they communicate sequence, action, and camera thinking.
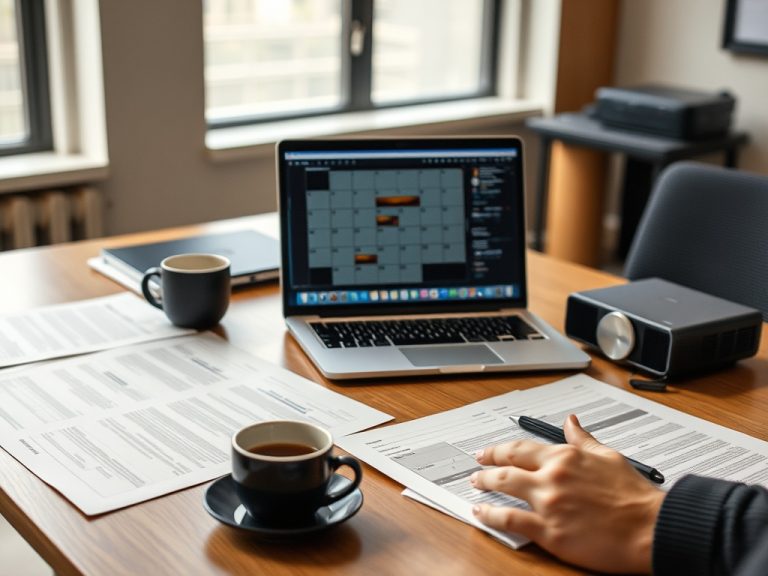
An animatic takes those panels and places them on a timeline with rough dialogue, temporary sound, and basic shot duration. This is where problems become obvious: a joke lands too late, a reveal is too short, a camera move feels repetitive, or a scene needs a breath before the next beat. In animation and VFX, changing timing in an animatic is far cheaper than discovering the same problem after modeling, effects, lighting, or final animation.
Layout is the bridge between story and production. In a 3D animated pipeline, layout artists often receive storyboards cut together as a movie and build the first workable cinematic version using the available sets, characters, and props. Walt Disney Animation Studios describes layout as the step that builds a full cinematic representation from storyboards, which is why layout decisions affect camera language, screen direction, scale, and shot continuity: Disney Animation’s layout process.
How the handoff usually works
The workflow is iterative rather than perfectly linear. Boards are reviewed, revised, cut into an animatic, revised again, and then passed into layout, where new staging realities may require another story or edit adjustment. When teams treat the process as a feedback loop, they preserve the story while reducing wasted downstream effort.
| Stage | Main question | Typical output | Risk if skipped |
|---|---|---|---|
| Storyboard | What is the scene trying to show? | Panels, beats, rough action, shot notes | The team may animate attractive shots that do not tell the story. |
| Animatic | Does the sequence work in time? | Timed edit with scratch sound and pacing | Timing problems move into expensive production stages. |
| Layout | Can the shot exist in screen space? | Rough camera, staging, blocking, set use | Camera logic, scale, and continuity may fail later. |
Why layout is not just a prettier animatic
Beginners often think layout is simply the animatic rebuilt with nicer assets. In practice, layout tests what the boards imply. A storyboard panel can cheat perspective, compress distance, hide a difficult turn, or suggest an impossible camera angle. Layout exposes those assumptions. It also clarifies whether a shot needs a wide lens, a long lens, a dolly-like move, a static camera, or a simpler cut.
This is where collaboration becomes essential. A director may want a more dramatic camera move, the editor may need cleaner screen direction, the production designer may flag a set limitation, and the animation team may need staging that supports believable performance. A creative producer can help connect those departments without turning a creative review into a blame session.
Common beginner mistakes
- Polishing panels before the scene logic is clear. Pretty drawings can hide weak staging.
- Cutting an animatic without sound priorities. Even rough audio changes how timing feels.
- Ignoring screen direction. A character who appears to switch sides without motivation can confuse the audience.
- Using layout only as a technical pass. Layout also improves storytelling by shaping focus, scale, and movement.
- Treating every revision as failure. Revision is the purpose of the process.
A practical mini-workflow for students and small teams
- Write the scene goal in one sentence before drawing panels.
- Board only the beats needed to understand action, emotion, and camera emphasis.
- Cut the panels into a simple animatic and watch it without explaining it aloud.
- Mark every confusing pause, rushed beat, or unclear eyeline.
- Create a rough layout pass only after the animatic proves the scene order and basic rhythm.
- Review the layout for camera continuity, scale, and whether the audience knows where to look.
This workflow is especially useful for portfolio projects because reviewers often judge decision-making, not just finished frames. If the reel shows that shots were planned with purpose, the work feels more professional even when the production values are modest. The same thinking applies outside animation: a reader building cultural literacy through large museum visits can use story, timing, and focus as tools for understanding any visual sequence.
What to practice after the first pass
The best next exercise is not drawing more panels; it is revising one short scene through all three stages. Take a 20-second moment, board it, time it as an animatic, build a rough layout, then compare what changed. The lesson is simple but valuable: storyboards propose, animatics test, and layout proves whether the shot plan can carry the idea on screen.