The Beginner’s Checklist for Navigating a Large Museum Without Burnout
A large museum is easier to enjoy when you stop treating it like a test of endurance. Pick a few priorities, plan breaks before you need them, and leave enough flexibility for surprise discoveries.
TL;DR: Choose three must-see areas, not the whole building. | Check tickets, bags, accessibility, food, and transit before arrival. | Use a 60-to-90-minute viewing rhythm with real rest stops. | Judge the visit by what you understood and enjoyed, not by how many rooms you crossed.
Start with a realistic visit goal
Large museums are designed for return visits. The Smithsonian, for example, presents itself as a complex of many museums and a zoo rather than a single one-day attraction, which is a useful mental model for any major cultural institution: Smithsonian visit planning. Even a single large art museum can hold centuries, cultures, media, and special exhibitions. Trying to “do it all” usually creates fatigue rather than appreciation.
Before you go, write one sentence that defines success: “I want to see the Egyptian galleries and one special exhibition,” or “I want a calm two-hour visit with my parents.” This narrows decisions once you are inside and reduces the guilt of skipping rooms.
Check the logistics before the emotional energy runs out
- Tickets: timed entry, special exhibition add-ons, discounts, and refund rules.
- Bags: size limits, coat check, water rules, sketching policies, and security lines.
- Mobility: elevator locations, seating, wheelchair availability, quiet spaces, and accessible entrances.
- Food: café hours, re-entry rules, nearby options, and whether children need snacks before entry.
- Transit: entrance location, rideshare pickup zones, parking, and the best exit for the next stop.
The Metropolitan Museum of Art’s visitor information is a good example of why checking museum-specific details matters; tickets, group rules, entrances, and visitor guidelines vary by institution: The Met’s plan-your-visit page.
Use the “anchor, wander, recover” method
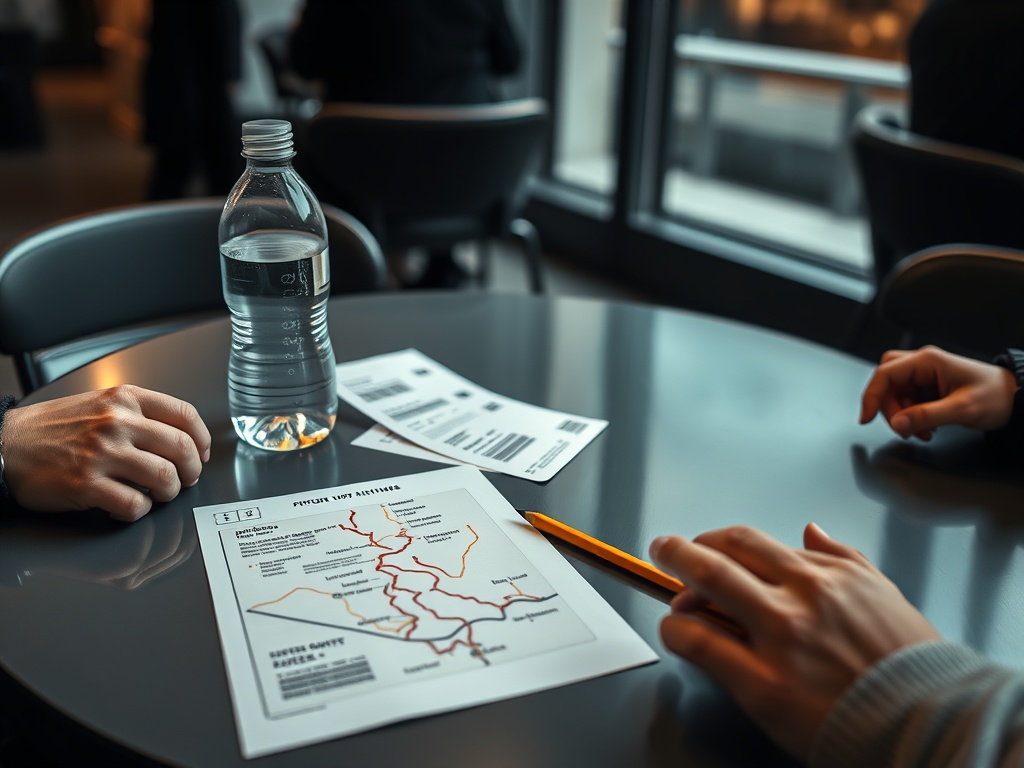
Pick one anchor gallery or exhibition first. Give it your best attention while you are fresh. Then allow a short wander through a nearby area without requiring yourself to read every label. After that, recover with water, seating, a courtyard, a café, or a quiet hallway. Repeat only if you still feel curious.
Museum fatigue is not a personal failure. Princeton University Art Museum has discussed how variation in display, interpretation, and pacing can help reduce visitor fatigue, which shows that museums themselves recognize attention as a limited resource: museum fatigue and display variation.
| Visitor situation | Best plan | Quality check |
|---|---|---|
| Solo first-time visitor | One special exhibition plus one permanent collection area | You can explain one object or room you found memorable. |
| Family with children | Short loops, interactive stops, food breaks, and a flexible exit | No one is forced through a gallery after attention is gone. |
| Art student or researcher | Preselect rooms, artists, or periods and take focused notes | You leave with usable observations rather than general exhaustion. |
| Tourist on a tight schedule | Choose highlights near the entrance and avoid distant detours | The visit fits the rest of the day without rushing. |
How to look without over-reading
Do not start every object with the wall text. First, spend 20 seconds noticing scale, material, color, pose, light, and your own reaction. Then read the label to learn date, maker, place, and context. This order helps you keep your own attention active rather than outsourcing the entire experience to the institution.
When a label or audio guide makes a strong interpretation, treat it as informed guidance, not as the only permitted response. Readers who want to sharpen that skill can also use a guide to reading arts criticism without confusing opinion with authority after the visit.
The must-not-miss checklist
- Three priority areas chosen before arrival.
- Timed tickets and exhibition access confirmed.
- Bag, food, accessibility, and photo rules checked.
- A planned break after the first major section.
- A backup plan if the main exhibition is crowded.
- One small souvenir note: a title, object, room, or idea worth remembering.
Leave before the visit turns into homework
A successful museum trip can end while you still have energy. Stop when you have a clear memory, a question, and a reason to return. That is better than pushing through the last hour just to say you covered more ground.