
A pantry stays organized when every everyday item has an obvious home, older food is easy to see, and the system is simple enough to reset in a few minutes. The goal is not a showroom pantry. It is a working storage system that supports how your household actually shops, cooks, and snacks.
TL;DR: Empty and audit the pantry, group food by use, assign zones based on frequency, use containers only where they solve a real problem, keep older items in front, and schedule a quick weekly reset. Food safety and pest prevention matter more than matching bins.
Start With the Habits That Create Pantry Clutter
Before buying organizers, identify why the pantry becomes messy. Common causes include storing the same category in several places, stacking items so labels disappear, buying duplicates because existing stock is hard to see, and creating categories that are too precise to maintain. A useful system should reduce those problems rather than simply hide them behind attractive containers.
Take a photo of the pantry before you begin. Then note what lands on the floor, what gets pushed to the back, what is regularly overstocked, and what family members reach for most often. Those patterns tell you where the system is failing.
If storage problems extend beyond food, the same idea of assigning a practical home to each category also applies when you organize bathroom storage in a small home. The exact containers differ, but point-of-use storage and easy visibility remain useful principles.
Gather Only the Tools You Actually Need
For most pantries, the basic setup is modest:
- A trash bag and recycling container for obvious discards
- A damp cloth and appropriate surface cleaner
- A marker and removable labels
- A few shallow bins or baskets for loose packets and small items
- One or two turntables for bottles or jars in deep corners
- Shelf risers when vertical space is being wasted
- Airtight food-safe containers only for foods that benefit from decanting
Avoid buying a complete organizer set before measuring. Pantry shelves often vary in depth and height, and oversized bins can make usable space smaller.
Step 1: Empty the Pantry and Sort by Use
Work one shelf at a time if the pantry is large. Group items on a table or counter into broad categories such as breakfast, baking, canned foods, pasta and grains, snacks, sauces, beverages, and backstock. Broad categories are easier to maintain than dozens of narrow ones.
Check damaged packaging, spills, insect activity, and foods that are well past the quality period you normally use. For shelf-stable foods, storage conditions matter. The USDA Food Safety and Inspection Service guidance on shelf-stable foods recommends cool, clean, dry storage and periodic pantry checks. The FoodKeeper resource from FoodSafety.gov can help with product-specific storage guidance.
Step 2: Create Zones Based on Frequency
Put the items used most often between roughly waist and eye level, where they can be seen without moving other things. Keep occasional baking supplies, entertaining items, and bulk backstock higher or lower if that is safe for your household.
A practical zoning plan might look like this:
| Zone | Good Candidates | Why It Works |
|---|---|---|
| Prime eye-level shelves | Breakfast foods, lunch items, everyday grains | Fast access and easy inventory checks |
| Lower shelves | Heavy cans, bottled drinks, bulk packages | Reduces lifting from overhead |
| Upper shelves | Seasonal baking items, party supplies, light backstock | Keeps occasional items out of prime space |
| Door or shallow shelves | Spices, packets, wraps, small jars | Uses narrow storage efficiently |
| Floor area | Only stable, protected bulk items | Prevents random bags from spreading across the floor |
Treat this as a starting point, not a universal rule. Children, older adults, mobility needs, and pantry dimensions may require a different arrangement.
Step 3: Use Containers to Solve Specific Problems
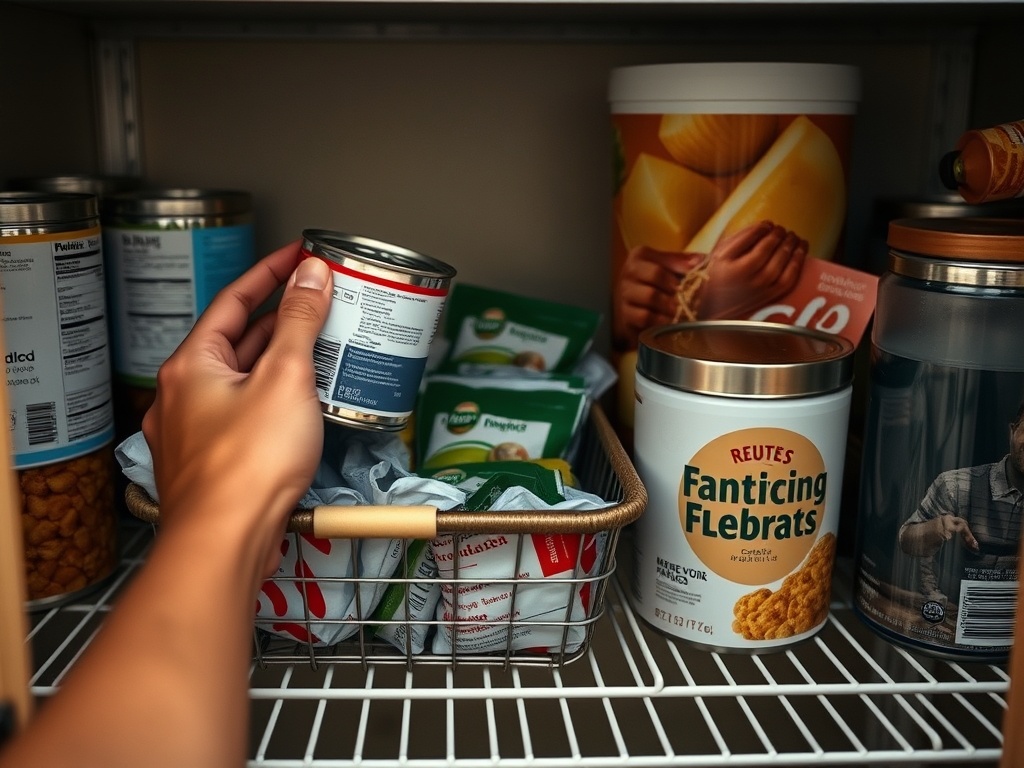
Clear bins are useful for packets, snack bars, baking decorations, and other small packages that fall over or disappear. Opaque baskets can work for less visually appealing items, but they need simple labels because their contents are not visible.
Decanting can make sense for flour, sugar, rice, cereal, or frequently used dry goods when a sealed container improves handling or pest resistance. It does not automatically make every pantry more functional. Keep cooking instructions, allergen information, lot numbers, and best-by information when you remove food from original packaging.
The University of Minnesota Extension notes that stored-food insects can infest products such as cereals, nuts, dried fruit, pasta, and spices. Its guide to pantry pests explains why long-stored foods and contaminated packages deserve attention. If you see active infestation, isolate affected products and follow appropriate pest-management guidance rather than simply transferring food into a new container.
Step 4: Make Older Food the Easiest Food to Reach
A pantry stays functional when new groceries do not bury older stock. Place recently purchased duplicates behind or beneath the package already open or closest to use. This simple first-in, first-out habit reduces forgotten food and makes grocery planning easier.
For categories with several duplicates, create a small backstock zone. Keep one active item in the main pantry area and extras together in one defined place. This is especially useful for canned tomatoes, broth, cereal, paper goods, and beverages.
Step 5: Label for People, Not for Photos
Labels should describe how your household thinks about food. "Weeknight pasta" may be more useful than separate labels for spaghetti, penne, and noodles. "Lunchbox snacks" may work better than several micro-categories that require constant sorting.
Use labels on bins, shelf edges, or both. Removable labels are helpful because pantry habits change. The best label system is one you can revise without replacing the organizers.
A similar restraint helps in living spaces too. When you mix wood tones in a room, visual order usually comes from a few repeated relationships rather than forcing every element to match. Pantry organization benefits from the same idea: consistency matters more than uniformity.
Build a Five-Minute Weekly Reset
Once a week, return stray items to their zones, bring older products forward, wipe obvious spills, and add low-stock staples to the shopping list. A monthly deeper check can cover dates, expired coupons, empty containers, and items that are no longer used.
If the pantry takes 30 minutes to reset every week, the system may be too complicated. Simplify categories, remove unnecessary containers, or give high-turnover items more space.
Troubleshoot the Most Common Pantry Problems
Deep shelves hide everything
Use shallow bins that can be pulled forward, shelf risers for cans, or turntables for bottles. Avoid filling deep bins with unrelated products because the front items will still hide the back.
Bulk buying overwhelms the pantry
Set a physical limit for backstock. When the assigned bin or shelf is full, pause bulk purchases until space opens. This prevents storage capacity from becoming the reason you keep adding more storage products.
A Pantry System You Can Maintain
An organized pantry is less about perfect containers and more about visibility, realistic categories, safe food storage, and easy resets. Start with your household's actual routines, then add only the storage tools that remove friction.
For most homes, the next useful step is simple: choose one shelf, group its contents into two or three practical categories, and test the arrangement for a week before buying more organizers.
Home and garden information is provided for general educational purposes. Food storage needs can vary by product and household conditions, so follow package directions and current food-safety guidance when in doubt.[/